How to Make Rice Crispy Squares: Tips, Tricks & Recipes
Few desserts bring as much nostalgia as a plate of homemade rice crispy squares. Whether you’re recreating a childhood favorite or trying them for the first time, the difference between a good treat and a great one comes down to a handful of simple techniques.
Prep time: 10 minutes ·
Cook time: 5 minutes ·
Total time: 15 minutes ·
Servings: 12 squares ·
Calories per square: ~150 kcal
Quick snapshot
- Butter prevents marshmallow mixture from hardening (Kellogg’s official recipe)
- Low heat necessary to avoid scorching (Sally’s Baking Addiction trusted baking blog)
- Standard ratio: 3 tbsp butter : 4 cups marshmallows : 6 cups cereal (Kellogg’s official recipe)
- Optimal marshmallow type for texture
- Effect of vanilla on chewiness
- Best storage method beyond 2 days
- Prep: 10 min, Cook: 5 min, Total: 15 min (Kellogg’s official recipe)
- Best served same day (Kellogg’s official recipe)
- Try chocolate variation (see below)
- Store in airtight container at room temp
Five key data points define the classic recipe—the ratios make all the difference.
| Label | Value |
|---|---|
| Calories per square | ~150 kcal |
| Prep time | 10 minutes |
| Cook time | 5 minutes |
| Yields | 12 squares (9×13 pan) |
| Main ingredients | Butter, marshmallows, crispy rice cereal |
Home bakers who skip the ratio will end up with either greasy puddles or concrete slabs. The 3-4-6 formula (butter-marshmallows-cereal) is the industry baseline for good reason: it delivers enough fat to coat every grain without saturating the marshmallows.
How Do You Make Rice Krispie Squares?
Classic Stovetop Method
- 3 tablespoons salted or unsalted butter
- 4 cups marshmallows (about 10 oz)
- 6 cups crispy rice cereal
- Melt the butter in a large saucepan over low heat.
- Add the marshmallows and stir continuously until completely melted and smooth, about 3-4 minutes.
- Remove from heat immediately.
- Pour in the cereal and fold gently until every grain is coated.
- Transfer the mixture to a 13×9-inch pan greased with butter or cooking spray.
- Using a buttered spatula or wax paper, press the mixture evenly into the pan—apply gentle pressure, not your full weight.
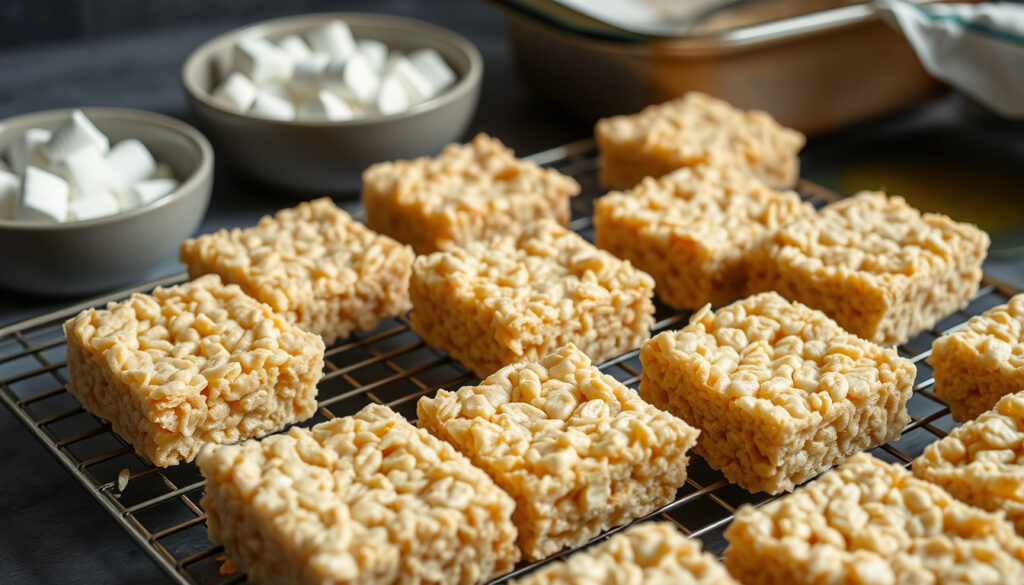
- Cool completely at room temperature, then cut into 2-inch squares.
Best served the same day.
Microwave Method
- Same ingredients as stovetop
- Large microwave-safe bowl
Place butter and marshmallows in a large microwave-safe bowl. Heat on HIGH for 3 minutes, stirring after 2 minutes until smooth. Carefully stir in cereal until well coated. Press into greased pan as above. The microwave cuts hands-on time but demands vigilance—overheating the marshmallows creates hard, brittle squares.
Ingredient List and Ratios
- Butter: 3 tbsp (42 g) — standard; 6 tbsp (84 g) for gooey version (Sally’s Baking Addiction ratio test)
- Marshmallows: 4 cups (10 oz) standard; 16 oz for extra gooey
- Cereal: 6 cups standard; up to 8 cups for firmer texture
The implication: Doubling the butter and marshmallows while only slightly increasing cereal produces a dramatically different chew. Choose your ratio based on whether you want the classic crunch or a more decadent, almost fudge-like bite.
What Is the Trick to Making Rice Crispy Treats?
The biggest mistake home cooks make is treating this like a mixing task rather than a chemical reaction. Marshmallows are sugar and water; butter is fat and water. How you handle that relationship determines the final texture.
Butter Prevents Hardening
Butter coats the cereal grains and interferes with sugar crystallization. Without enough fat, the marshmallows recrystallize into a hard, brittle matrix once they cool. The standard 3 tablespoons provides a thin coating; increasing to 6 tablespoons yields noticeably softer squares (Sally’s Baking Addiction trusted baking blog).
Use Fresh Marshmallows
Old marshmallows lose moisture and become stiffer. When melted, they lead to a dense, tough finish. Check the package date—marshmallows stored longer than 3 months past manufacture will compromise the result.
Don’t Overmix or Press Too Hard
Stirring aggressively breaks the cereal into small pieces, reducing the airy structure. Pressing the mixture into the pan with force compacts it, producing a block of puffed cereal rather than a tender square. Gently pat until level—use a greased spatula and a light touch (Sugar Spun Run technique tip).
The pattern: Every technique that reduces air—overstirring, hard pressing, old marshmallows, high heat—turns a treat into a brick. Preserving air is the secret to the melt-in-your-mouth texture.
How to Make Rice Crispy Chocolate Squares?
Chocolate Drizzle Variation
Let the set squares cool completely, then melt 1/2 cup chocolate chips with 1 teaspoon coconut oil. Drizzle over the top and let set. This adds a decorative finish without altering the base structure (Two Sisters Crafting recipe blog).
Cocoa Powder Integration
For an even chocolate flavor throughout, whisk 3 tablespoons unsweetened cocoa powder into the melted marshmallow mixture before adding cereal. Reduce the cereal to 5.5 cups to maintain the correct binder-to-dry ratio, since cocoa absorbs moisture.
Chocolate Chip Addition
Stir 1/2 cup mini chocolate chips into the mixture after adding cereal—the residual heat softens them without melting completely. The chips create pockets of chocolate that remain separate from the marshmallow binder.
The trade-off: Cocoa powder delivers uniform color and flavor but can dry out the squares slightly. Adding chips creates texture contrast but may make cutting messier. For the cleanest look, drizzle wins.
How to Make Your Own Rice Krispies?
Puffed Rice Cereal from Scratch
True puffed rice is made by heating rice grains under high pressure until they explode—a commercial process impossible to replicate at home without specialized equipment.
Oven Method vs. Frying
A home approximation: toast raw rice in a dry skillet over medium-high heat, shaking constantly, until it pops. This produces a smaller, denser puff—not the uniform crisp of store-bought cereal. Frying rice in oil gives a crunchier texture but adds significant fat and changes the final treat’s consistency.
Alternative Grains
Substitute puffed brown rice, puffed millet, or puffed quinoa for a homemade feel. These grains have a different starch structure and may produce a slightly less cohesive square. Reduce the liquid slightly (use 2.5 tablespoons butter instead of 3) to compensate for lower starch.
What this means: The commercial product is engineered for consistency. A true homemade alternative will taste different and may not hold together as well. For most home cooks, store-bought crispy rice cereal remains the more reliable choice.
What Are Some Common Mistakes When Making Rice Krispie Squares?
Using Too Much Butter
Butter beyond 6 tablespoons makes the squares greasy and prevents the marshmallow mixture from setting properly. The squares will slide apart instead of holding their shape (Sally’s Baking Addiction trusted baking blog).
Overheating the Marshmallows
High heat scorches the sugar, causing the mixture to harden into a tooth-breaking consistency. Always use low heat and remove the pan once the marshmallows are just melted—don’t let them bubble.
Pressing Too Firmly
Crushing the cereal destroys the air pockets that give the squares their light texture. Use a buttered spatula and press just until level—about 2 pounds of pressure, not your full body weight (Sugar Spun Run technique tip).
Skipping the Grease
An ungreased pan guarantees sticking and broken squares. Butter, cooking spray, or parchment paper all work—but don’t skip this step. For clean cuts, grease the knife too.
The implication: Almost every failure traces back to heat management or handling pressure. Master those two variables and you’ll have consistent results regardless of brand or pan size.
“In large saucepan melt butter over low heat. Add marshmallows and stir until completely melted.”
— Kellogg’s Official Recipe (cereal manufacturer)
“I use 3/4 cup (12 Tbsp) unsalted butter for extra gooey treats.”
— Sally’s Baking Addiction (trusted baking blog)
For home cooks in North America, the choice is clear: stick with the official 3-4-6 ratio for a classic treat, or double the butter and marshmallows if you crave a gooey, decadent square that rivals any bakery version. Either way, low heat and a light press are non-negotiable.
For a quick and reliable version, check out this easy rice crispy treats recipe that includes pro tips for perfect texture.
Frequently asked questions
How long do rice crispy treats last?
Stored in an airtight container at room temperature, they stay fresh for 2-3 days. After that, they harden as moisture evaporates. Best eaten the same day.
Can I use salted butter?
Yes—just reduce any added salt. The standard recipe doesn’t call for extra salt, so salted butter works fine. Some bakers prefer it for a flavor contrast.
Do I need to grease the pan?
Absolutely. Grease with butter, cooking spray, or line with parchment paper. Without it, the squares stick and break apart when cutting.
Can I add peanut butter?
Yes—stir 1/4 cup creamy peanut butter into the melted marshmallow mixture before adding cereal. It adds flavor and makes the squares slightly softer. Reduce butter by 1 tablespoon to compensate.
How to make vegan rice crispy treats?
Use vegan butter (e.g., Earth Balance), vegan marshmallows (Dandies or Trader Joe’s), and a puffed rice cereal that contains no gelatin. Follow the same stovetop method—vegan marshmallows melt slightly slower, so use low heat and stir patiently.
What is the best pan to use?
A 13x9x2-inch metal pan is standard. Glass or ceramic works but holds heat longer, so let the mixture cool slightly before transferring. For thicker squares, use a 9×9-inch pan and double the recipe.
Can I use marshmallow creme instead of marshmallows?
Marshmallow creme has a different moisture content and contains corn syrup and stabilizers. It will work, but the texture will be denser and the squares may not hold as firm. If using creme, reduce butter to 2 tablespoons to avoid greasiness.
For more kitchen tips, check out our guides on Substitute for Heavy Cream: 8 Smart Kitchen Swaps That Work and Cream of Tartar Substitute: Best Alternatives for Baking.
More related posts
 Missing Children in Nova Scotia Update – Latest on Sullivan Siblings Case
 Jack Singer Concert Hall – Seating Chart, Capacity & Events
 Houses for Sale Kelowna: 1792 Listings Under $500K
 PTE Core Practice Test: Free Online Prep with AI Scoring
 Nova Scotia Woods Ban – Current Status and Key Rules
 Canon R6 Mark III – Release Date Price and Specs
 Free Games to Play: Best No-Download Online Games